Support our educational content for free when you purchase through links on our site. Learn more
[2023] How to Make an Easy Robot That Moves: A Comprehensive Guide

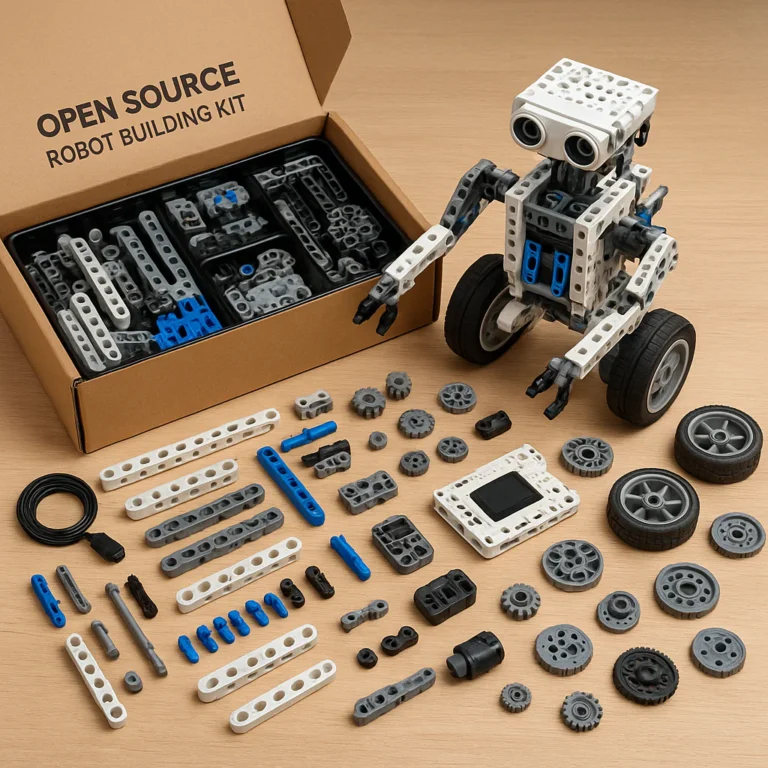
Are you ready to unleash your inner engineer and create your very own robot that moves? Look no further! Our team at Robot Instructions™ has put together a comprehensive guide to help you bring your robot dreams to life. Whether you're a beginner or an experienced DIY enthusiast, we've got you covered. So grab your tools and let's get started!
Table of Contents
- Quick Answer
- Quick Tips and Facts
- 1. The "Bristlebot"
- 2. A Rolling Robot
- 3. A Rowing-Boat Robot
- 4. mBot: a STEM Coding robot
- FAQ
- Conclusion
- Useful Links
- Reference Links
Quick Answer
To make an easy robot that moves, you have several options. You can start with simple projects like the "Bristlebot" or a rolling robot, or you can explore more advanced options like a rowing-boat robot or the mBot STEM coding robot. Each project offers a unique learning experience and can be customized to suit your skills and interests.
Quick Tips and Facts
- Building a robot that moves is a great way to learn about electronics, mechanics, and coding.
- Start with simple projects and gradually progress to more complex ones as you gain confidence.
- Use recycled materials or affordable components to keep costs low.
- Explore online communities and forums for inspiration and support.
- Don't be afraid to experiment and make mistakes – that's how you learn!
Now, let's dive into the details of each project.
1. The "Bristlebot"
The "Bristlebot" is a perfect starting point for beginners. It's a simple and inexpensive robot that uses the vibration of a small motor to move. Here's what you'll need:
- Toothbrush head
- Small vibrating motor
- Coin cell battery
- Double-sided tape
- Craft materials for decoration (optional)
How to make a Bristlebot:
- Attach the small vibrating motor to the toothbrush head using double-sided tape.
- Connect the motor to the coin cell battery.
- Decorate your Bristlebot with craft materials if desired.
- Turn on the motor and watch your Bristlebot come to life!
Pros:
- Easy and inexpensive to build.
- Teaches the basics of circuitry and vibration.
- Can be customized with creative decorations.
Cons:
- Limited movement capabilities.
- Requires frequent battery replacement.
Ready to start building? Shop motors and batteries on Amazon
2. A Rolling Robot
If you're ready for a slightly more advanced project, a rolling robot is a great choice. This type of robot uses wheels to move and can be controlled using a simple remote control. Here's what you'll need:
- Microcontroller board (Arduino or Raspberry Pi)
- Motor driver
- DC motors
- Wheels
- Chassis
- Battery pack
- Jumper wires
How to build a rolling robot:
- Connect the motor driver to the microcontroller board.
- Attach the DC motors to the motor driver.
- Mount the wheels and chassis.
- Connect the battery pack to power the robot.
- Program the microcontroller board to control the motors.
- Test your robot and make any necessary adjustments.
Pros:
- Provides a hands-on experience with electronics and programming.
- Offers more control and movement options than the Bristlebot.
- Can be expanded and customized with additional sensors and features.
Cons:
- Requires basic knowledge of electronics and programming.
- May involve more complex wiring and assembly.
Ready to roll? Shop microcontroller boards and components on Amazon
3. A Rowing-Boat Robot
For those seeking a unique challenge, a rowing-boat robot combines mechanics and creativity. This type of robot mimics the motion of rowing and can be a fascinating project to undertake. Here's what you'll need:
- Wood or plastic materials for the boat structure
- DC motors
- Oars or paddles
- Motor driver
- Microcontroller board
- Battery pack
- Jumper wires
How to make a rowing-boat robot:
- Build the boat structure using wood or plastic materials.
- Attach the DC motors to the boat as rowing mechanisms.
- Connect the motors to the motor driver and microcontroller board.
- Mount the battery pack and connect it to power the robot.
- Program the microcontroller board to control the motors and simulate rowing motion.
- Test your rowing-boat robot in water and make any necessary adjustments.
Pros:
- Combines mechanics and creativity.
- Offers a unique and visually appealing robot design.
- Provides an opportunity to experiment with water-based robotics.
Cons:
- Requires intermediate knowledge of electronics, mechanics, and programming.
- Involves more complex construction and waterproofing challenges.
Ready to set sail? Shop boat-building materials and components on Amazon
4. mBot: a STEM Coding robot
If you're looking for a comprehensive learning experience, the mBot STEM coding robot is an excellent choice. This robot kit is designed for beginners and offers a hands-on introduction to coding and robotics. Here's what you'll find in the mBot kit:
- mBot robot chassis
- Microcontroller board
- Motors and wheels
- Line-following and obstacle-avoidance sensors
- Remote control
- USB cable for programming
- Instruction manual
How to build and code the mBot:
- Assemble the mBot robot chassis following the instructions provided.
- Connect the motors, wheels, and sensors to the microcontroller board.
- Use the mBlock software to program the robot's behavior.
- Experiment with different coding blocks to make the mBot move, avoid obstacles, and follow lines.
- Test your program and iterate to improve the robot's performance.
Pros:
- Beginner-friendly and educational.
- Introduces coding and robotics concepts.
- Offers a wide range of programming possibilities.
Cons:
- Limited customization options compared to DIY projects.
- May require additional components for advanced projects.
Ready to embark on a coding adventure? Shop mBot kits on Amazon
FAQ

Q: How to make a simple control robot?
A: To make a simple control robot, you'll need a microcontroller board, motors, wheels, and a power source. Connect the motors to the microcontroller board and program it to control the robot's movement. You can use a remote control or sensors to interact with the robot.
Q: How to build your own working robot?
A: Building your own working robot requires a combination of mechanical, electrical, and programming skills. Start with a clear design and gather the necessary components. Assemble the robot's structure, connect the motors and sensors, and program the microcontroller board to control its behavior. Test and iterate to improve your robot's performance.
Q: What can be used to make a robot move?
A: Several components can be used to make a robot move, including motors, wheels, tracks, or legs. The choice depends on the type of movement you want to achieve. To control the robot's movement, you'll also need a microcontroller board and a power source.
Q: How to make a robot for kids?
A: Making a robot for kids can be a fun and educational project. Start with simple projects like the "Bristlebot" or the mBot STEM coding robot, which are designed for beginners. Use age-appropriate materials and involve kids in the building and programming process to foster their creativity and curiosity.
Have more burning questions? Feel free to reach out to us!
Conclusion
Congratulations! You've reached the end of our comprehensive guide on how to make an easy robot that moves. We hope this article has inspired you to embark on your own robotic adventure. Whether you choose the simplicity of the "Bristlebot" or the coding challenges of the mBot, remember that the journey is just as rewarding as the destination. So gather your tools, unleash your creativity, and let your robot come to life!
Useful Links

- Shop vibrating motors and coin cell batteries on Amazon
- Shop microcontroller boards and components on Amazon
- Shop boat-building materials and components on Amazon
- Shop mBot kits on Amazon
Looking for more inspiration? Check out our website Robot Instructions™ for a wide range of robot-building resources and tutorials.
Reference Links