Support our educational content for free when you purchase through links on our site. Learn more
How to Make a Robot with Cardboard (Very Easy) [2023]
")
Are you ready to embark on a fun and creative project? Making a robot with cardboard is a fantastic way to engage your imagination and learn about the principles of robotics. Plus, it's a great opportunity to bond with your kids or simply indulge in some hands-on crafting. In this comprehensive guide, our team at Robot Instructions™ will walk you through the steps of creating your very own cardboard robot. Get ready to unleash your inner engineer and bring your robot to life!
Table of Contents
- Quick Answer
- Quick Tips and Facts
- Materials You'll Need
- Step-by-Step Instructions
- FAQ
- Conclusion
- Recommended Links
- Reference Links
Quick Answer
Making a robot with cardboard is a creative and fun DIY project that can be easily done at home. By following a few simple steps, you can bring your cardboard robot to life. With just a little bit of planning, gathering materials, cutting out parts, and assembling them, you'll have your very own robot in no time. Get ready to unleash your creativity and explore the world of robotics!
Quick Tips and Facts
- Cardboard is an excellent material for creating robots due to its versatility and accessibility.
- This project can be enjoyed by people of all ages, from kids to adults.
- Encourage creativity by allowing your kids to come up with their own unique robot designs.
- Experiment with different shapes, sizes, and colors to make your robot truly one-of-a-kind.
- Don't be afraid to add extra details and personalization to your robot using paints, markers, or other craft supplies.
Materials You'll Need
Before diving into the step-by-step instructions, let's gather the materials you'll need for this project. Don't worry, you won't need any fancy or expensive equipment. Most of the items can be found around your house or easily purchased online.
- Cardboard: Look for sturdy cardboard boxes or sheets. You can also repurpose cereal boxes or packaging materials.
- Utility Knife or Scissors: Use a utility knife or a pair of scissors to cut out the cardboard pieces.
- Ruler: A ruler will help you measure and draw straight lines on the cardboard.
- Pencil or Marker: Use a pencil or marker to trace the outline of the robot parts on the cardboard.
- Glue or Tape: Choose a strong adhesive like glue or tape to hold the robot parts together.
- Paints or Markers (optional): If you want to add color and personality to your robot, grab some paints or markers.
- Decorative Supplies (optional): Get creative and personalize your robot with googly eyes, buttons, pipe cleaners, or any other craft supplies you have on hand.
Now that you have all the necessary materials, let's move on to the step-by-step instructions.
Step-by-Step Instructions
Step 1: Planning Your Robot
Before you start cutting out cardboard, it's important to have a clear vision of what your robot will look like. Take some time to sketch your robot design on a piece of paper. Consider the shape, size, and features you want your robot to have. Planning ahead will make the construction process much smoother.
Step 2: Gathering Materials
Now that you have a plan, it's time to gather all the materials you'll need. Make sure you have enough cardboard to create all the different parts of your robot. If you don't have enough cardboard, consider repurposing items like cereal boxes or packaging materials. Gather your utility knife or scissors, ruler, pencil or marker, and adhesive of choice.
Step 3: Cutting Out the Parts
Using your sketch as a guide, start cutting out the different parts of your robot from the cardboard. Use a ruler to ensure straight lines and precise measurements. Take your time and be careful when using the utility knife or scissors. Remember, safety first!
Step 4: Assembling the Robot
Once you have all the parts cut out, it's time to assemble your robot. Start by laying out the pieces and figuring out how they fit together. Apply glue or tape to the edges of the cardboard and press them firmly together. Allow the adhesive to dry completely before moving on to the next step.
Step 5: Adding Details and Personalization
Now comes the fun part – adding details and personalization to your robot. Use paints or markers to give your robot some color and personality. Get creative and experiment with different designs. You can also use decorative supplies like googly eyes, buttons, or pipe cleaners to add extra flair to your robot. Let your imagination run wild!
Congratulations, you've successfully created your very own cardboard robot! Now it's time to show off your masterpiece and let your robot roam freely in the world of imagination.
FAQ
")
How can a kid make a simple robot?
Making a simple robot can be a fun and educational activity for kids. Here's a simple step-by-step guide:
- Gather materials such as cardboard, scissors, glue, markers, and any additional craft supplies.
- Plan the design of the robot by sketching it on paper.
- Cut out the robot parts from cardboard.
- Assemble the robot by gluing or taping the parts together.
- Add details and personalization using markers, paints, or craft supplies.
- Let the robot dry and enjoy your creation!
How to build a robot easy?
Building a robot can be made easy by following these steps:
- Start with a simple design and gather the necessary materials.
- Break down the construction process into smaller steps.
- Take your time and follow the instructions carefully.
- Use strong adhesives like glue or tape to secure the parts together.
- Test the robot as you go to ensure everything is working properly.
- Add any additional features or personalization to your liking.
How to make a simple robot step by step?
Here's a step-by-step guide on making a simple robot:
- Gather materials such as cardboard, scissors, glue, and markers.
- Plan the design of the robot by sketching it on paper.
- Cut out the robot parts from cardboard.
- Assemble the robot by gluing or taping the parts together.
- Test the robot to ensure it moves or performs its intended function.
- Add any additional details or personalization using markers or craft supplies.
How do you make a simple robot at home with household items?
Making a simple robot at home with household items is a great way to get creative. Here's how you can do it:
- Gather household items such as cardboard, paper towel rolls, bottle caps, or rubber bands.
- Plan the design of the robot using your imagination and the available materials.
- Repurpose household items to create different parts of the robot.
- Assemble the robot by attaching the parts together using glue or tape.
- Test the robot to see if it can move or perform its intended function.
- Add any additional details or personalization using markers or craft supplies.
Conclusion
Making a robot with cardboard is a rewarding and enjoyable DIY project that anyone can undertake. With just a few simple steps, you can create your very own robot and let your imagination run wild. Remember to have fun, be creative, and experiment with different designs. Whether you're a kid or an adult, building a cardboard robot is a fantastic way to learn about robotics and unleash your inner engineer.
Now that you have all the knowledge and guidance, it's time to get started on your cardboard robot adventure. Gather your materials, let your creativity flow, and have a blast constructing your unique robot companion!
Recommended Links
- Shop Cardboard Craft Supplies on Amazon
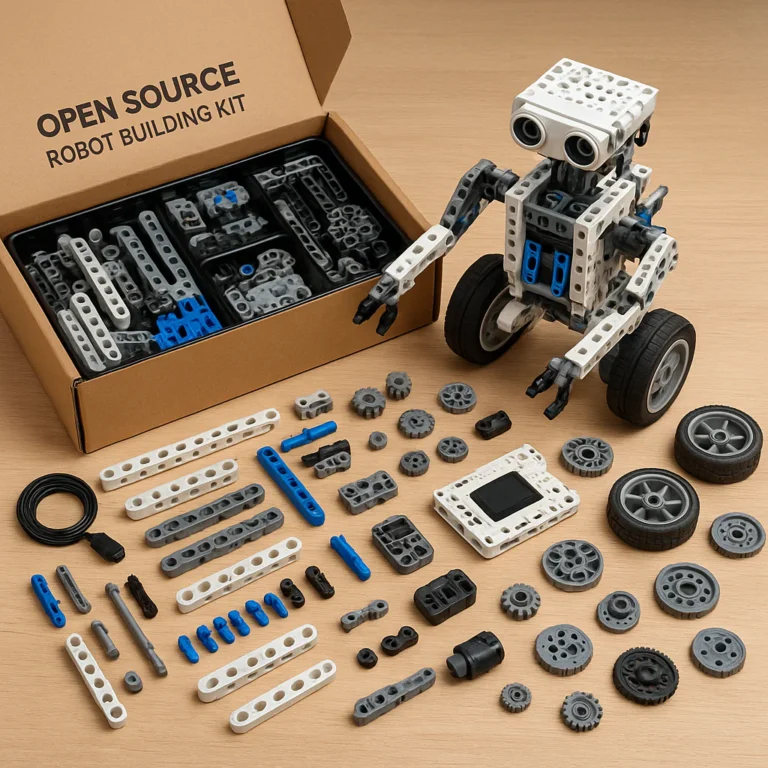
- Explore Robotics Kits on Amazon
- Find Inspiration for Robot Designs on Pinterest
Reference Links