Support our educational content for free when you purchase through links on our site. Learn more
[2023] How to Make a Robot That Moves and Talks Step by Step

Robots have always fascinated us with their ability to move and communicate like humans. If you've ever wondered how to make a robot that moves and talks step by step, you're in the right place! Our team of expert robotics engineers at Robot Instructions™ has put together a comprehensive guide to help you bring your robotic creation to life. From gathering the necessary materials to programming and assembling your robot, we'll walk you through each step of the process. So, let's get started!
Table of Contents
- Quick Answer
- Quick Tips and Facts
- Introduction: DIY Talking Robot Interacting With Humans
- Step 1: Things You Need
- Step 2: Breadboard Test
- Step 3: Play Sounds From Arduino
- Step 4: Robotic Voice
- Step 5: Convert Your Voice
- Step 6: Testing the Functionality
- Step 7: Making the Mask
- Step 8: Soldering
- Step 9: Mounting Sensors
- Step 10: Flashing Eyes
- Step 11: Wiring the Mask
- Step 12: Finishing
- FAQ
- Conclusion
- Useful Links
- Reference Links
Quick Answer
To make a robot that moves and talks, you'll need to follow these steps:
- Gather the necessary materials such as Arduino, servo motors, sensors, and a 3D-printed mask.
- Test the circuits and connections on a breadboard.
- Program the Arduino to play sounds and control the movements of the robot.
- Create a robotic voice using text-to-speech software or modules.
- Convert your voice to a robotic voice using a voice changer module.
- Test the functionality of the robot by combining the movements and voice.
- Make the mask using a 3D printer or other materials.
- Solder the components and wires for a more secure connection.
- Mount the sensors on the robot for interaction with the environment.
- Add flashing LED eyes to give your robot a more expressive look.
- Wire the mask with the necessary connections for the voice and eyes.
- Finish assembling the robot and make any final adjustments.
Now, let's dive into the details of each step to guide you through the process!
Quick Tips and Facts
- Tip: Before starting the project, it's essential to have a basic understanding of electronics and programming. If you're new to these areas, consider starting with beginner-friendly resources to build your knowledge.
- Fact: Robots that move and talk can be used for various purposes, including educational projects, entertainment, or even as assistants in certain environments.
- Tip: As you progress through the steps, it's crucial to test each component and functionality along the way. This will help you identify and troubleshoot any issues before moving forward.
- Fact: Building a robot that moves and talks involves a combination of mechanical, electrical, and programming skills. It's a multidisciplinary project that can be a rewarding learning experience.
Introduction: DIY Talking Robot Interacting With Humans

Creating a DIY talking robot that can interact with humans is an exciting project that combines various skills and technologies. In this guide, we'll walk you through the process of building your own robot from scratch. By the end of this project, you'll have a fully functional robot that can move, play sounds, and communicate with you.
Step 1: Things You Need
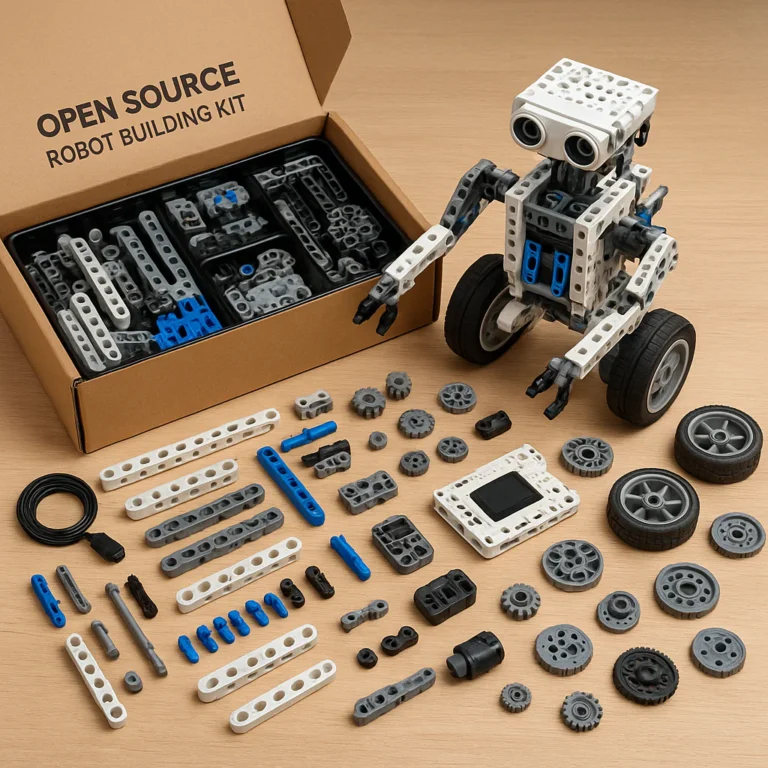
Before you begin, gather the following materials:
- Arduino Uno or similar microcontroller
- Servo motors
- Ultrasonic sensor
- Sound module or speaker
- Voice changer module
- 3D-printed mask or materials for mask construction
- Wires, resistors, and other necessary components
- Soldering iron and solder
- Breadboard for testing circuits
- Multimeter for troubleshooting
- Computer with Arduino IDE and necessary software
Shop Arduino Uno on Amazon: Check price on Amazon
Shop Servo Motors on Amazon: Check price on Amazon
Shop Ultrasonic Sensor on Amazon: Check price on Amazon
Shop Sound Module on Amazon: Check price on Amazon
Shop Voice Changer Module on Amazon: Check price on Amazon
Shop 3D-Printed Mask on Etsy: Check price on Etsy
Step 2: Breadboard Test
Before soldering any components, it's a good practice to test the circuits and connections on a breadboard. This allows you to verify that everything is working correctly before making any permanent connections. Use jumper wires to connect the components on the breadboard and follow the circuit diagrams or schematics provided with the components.
Tip: Make sure to double-check the pin connections and polarities of the components as you connect them on the breadboard.
Step 3: Play Sounds From Arduino
To make your robot talk, you'll need to program the Arduino to play sounds. Connect a sound module or speaker to the Arduino and use the appropriate libraries and functions in the Arduino IDE to play pre-recorded sounds or generate tones. You can find ready-made sound modules that are compatible with Arduino, making this step easier.
Shop Arduino-Compatible Sound Modules on Amazon: Check price on Amazon
Step 4: Robotic Voice
To give your robot a robotic voice, you'll need to use text-to-speech (TTS) software or modules. There are various TTS options available, both software-based and hardware-based. Choose the one that suits your project requirements and integrate it with the Arduino. This will allow you to convert text into speech that sounds robotic.
Shop Text-to-Speech Modules on Amazon: Check price on Amazon
Step 5: Convert Your Voice
If you want your robot to have a voice that resembles a robot, you can use a voice changer module. This module alters the pitch and tone of your voice, giving it a more robotic sound. Connect the voice changer module between your microphone and the Arduino to achieve the desired effect.
Shop Voice Changer Modules on Amazon: Check price on Amazon
Step 6: Testing the Functionality
At this stage, you should have the ability to play sounds and generate a robotic voice. Test the functionality of these features by combining them and controlling them with the Arduino. For example, you can program the Arduino to play a sound while the robot moves its arms or head. This will help you ensure that all the components work together seamlessly.
Step 7: Making the Mask
To give your robot a unique appearance, you can create a mask using a 3D printer or other materials. Design the mask according to your preferences and the overall look you want to achieve for your robot. If you don't have access to a 3D printer, you can use materials like foam or cardboard to construct the mask.
Shop 3D Printers on Amazon: Check price on Amazon
Step 8: Soldering
Once you've tested the functionality and finalized the connections on the breadboard, it's time to make the connections permanent. Use a soldering iron and solder to solder the wires, components, and connections. This will ensure a more secure and reliable connection, preventing loose connections or intermittent issues.
Shop Soldering Irons on Amazon: Check price on Amazon
Step 9: Mounting Sensors
If you want your robot to interact with its environment, consider adding sensors like ultrasonic sensors for obstacle detection. Mount the sensors in appropriate locations on the robot, ensuring they have a clear line of sight for accurate readings. Connect the sensors to the Arduino and program the necessary logic for the robot to respond to the sensor inputs.
Shop Ultrasonic Sensors on Amazon: Check price on Amazon
Step 10: Flashing Eyes
To give your robot expressive eyes, you can add flashing LED lights. These lights can be programmed to blink or change colors, adding a visual element to your robot's communication. Connect the LEDs to the Arduino and program the desired patterns or colors for the eyes.
Shop LED Lights on Amazon: Check price on Amazon
Step 11: Wiring the Mask
If you've created a mask for your robot, it's time to wire it up. Connect the necessary wires for the voice changer module, speaker, and LED lights to the mask. Ensure that the connections are secure and won't interfere with the movements of the robot.
Step 12: Finishing
Now that you've completed all the necessary steps, it's time to finalize the assembly of your robot. Secure all the components in place, making sure that they are firmly attached and won't come loose during operation. Test the robot's movements, sounds, and voice to ensure everything is working correctly.
FAQ

How to make a talking robot?
To make a talking robot, you'll need to follow these general steps:
- Gather the necessary materials such as Arduino, servo motors, sensors, and a speaker.
- Program the Arduino to play sounds using a sound module or generate tones.
- Use text-to-speech (TTS) software or modules to convert text into speech.
- Add a voice changer module if you want a more robotic voice.
- Test the functionality by combining the sounds and voice with the movements of the robot.
How to build a robot step by step?
To build a robot step by step, you can follow these general guidelines:
- Define the purpose and requirements of your robot.
- Gather the necessary materials and components.
- Design and plan the structure and mechanics of your robot.
- Build the mechanical parts, such as the body, arms, and legs.
- Wire and connect the electronic components, including motors, sensors, and microcontrollers.
- Program the microcontroller to control the movements and behaviors of the robot.
- Test and iterate on the design, making any necessary adjustments.
How to create a working robot?
To create a working robot, you'll need to consider the following:
- Define the specific tasks or functions your robot will perform.
- Select the appropriate components, such as motors, sensors, and microcontrollers.
- Design the mechanical structure of the robot to support its intended functionality.
- Wire and connect the electronic components, ensuring proper communication and power supply.
- Program the microcontroller to control the robot's movements and interactions.
- Test and refine the design, making any necessary modifications to improve performance.
How to make a robot for a school project easy?
If you're looking for an easy way to make a robot for a school project, consider the following:
- Start with a simple design and concept that you can easily understand and implement.
- Use beginner-friendly components and materials that are readily available.
- Follow step-by-step tutorials or guides to help you through the process.
- Seek assistance from teachers, mentors, or online communities if you encounter difficulties.
- Focus on learning and understanding the core concepts of robotics rather than aiming for a complex project.
How much does it cost to make a robot?
The cost of making a robot can vary significantly depending on the complexity and functionality of the robot, as well as the quality of the components used. A simple robot project can cost around $50 to $100, while more advanced projects with complex mechanisms and advanced sensors can cost several hundred dollars or more. It's important to plan your project and budget accordingly, considering the specific requirements and features you want to include.
Conclusion
Congratulations! You've learned how to make a robot that moves and talks step by step. Building a robot from scratch requires a combination of mechanical, electrical, and programming skills, but the end result is a rewarding and educational experience. Remember to experiment, explore, and have fun with your robot, and don't hesitate to seek additional resources or assistance if needed.
Useful Links

- Shop Arduino Uno on Amazon
- Shop Servo Motors on Amazon
- Shop Ultrasonic Sensor on Amazon
- Shop Sound Module on Amazon
- Shop Voice Changer Module on Amazon
- Shop 3D-Printed Mask on Etsy
- Shop 3D Printers on Amazon
- Shop LED Lights on Amazon
Reference Links